TL;DR: How to split screen on Windows 11: click a window and press Windows key + Left arrow (or Right arrow) to snap it to half the screen, then pick a second window from the Snap Assist thumbnails that appear on the other side. For three or four windows, press Windows key + Z or hover over a window’s maximize button to open Snap layouts. You can also drag a window to the screen edge or to the top of the screen. If nothing happens, turn on Snap windows in Settings > System > Multitasking.
Comparing two documents, watching a video while you take notes or keeping a chat open next to your work is much easier when windows sit side by side. Windows has a built-in feature for this called Snap. This guide shows every way to split screen on Windows 11, from one-key shortcuts to layouts for three or four apps, plus fixes for when snapping doesn’t work.
How to split screen on Windows 11 with keyboard shortcuts
The fastest method is the keyboard. It works in almost every app:
- Click the window you want on the left so it’s active.
- Press Windows key + Left arrow. The window snaps to the left half of the screen.
- Snap Assist shows thumbnails of your other open windows on the right half. Click the one you want there.
- To swap sides, select a window and press Windows key + Right arrow.
You can keep pressing arrow keys while holding the Windows key to move the window around. For example, after snapping left, press Windows key + Up arrow to move it into the top-left quarter. Microsoft’s Snap tips describe this: hold the Windows key plus an arrow to snap, and keep changing the position with the arrow keys.
Windows 11 split screen shortcuts
| Shortcut | What it does |
|---|---|
| Windows key + Left arrow | Snap the active window to the left side |
| Windows key + Right arrow | Snap the active window to the right side |
| Windows key + Alt + Up arrow | Snap the active window to the top half |
| Windows key + Alt + Down arrow | Snap the active window to the bottom half |
| Windows key + Z | Open Snap layouts for the active window |
| Windows key + Down arrow | Minimize the active window |
| Windows key + Shift + Left/Right arrow | Move the window to another monitor |
The top and bottom half shortcuts come from Microsoft’s official Windows keyboard shortcuts list. They’re handy on tall, portrait-oriented monitors.
How to use Snap layouts for 3 or 4 windows
Snap layouts are preset grids that let you arrange several windows at once. According to Microsoft Support, you can open them in three ways.
Method 1: Windows key + Z
- Click the window you want to place.
- Press Windows key + Z. A small panel of layouts appears.
- Choose a layout and the zone where this window should go.
- Snap Assist then helps you fill the remaining zones with your other windows.
Method 2: Hover over the maximize button
Move your mouse over the maximize (square) button in a window’s top-right corner and pause. The Snap flyout appears with the same layouts. Click a zone to place the window there.
Method 3: Drag to the top of the screen
Drag a window by its title bar toward the top center of the screen. The Snap bar slides down with layouts. Drop the window onto the zone you want.
The layouts you see depend on your screen size. Microsoft’s developer documentation notes that large landscape screens can show three windows side by side, while portrait screens offer stacked top-and-bottom layouts. Common options include:
- Two windows at 50/50
- Two windows split roughly two-thirds and one-third
- Three columns
- One large window plus two stacked on the side
- Four quarters
How to split screen by dragging windows
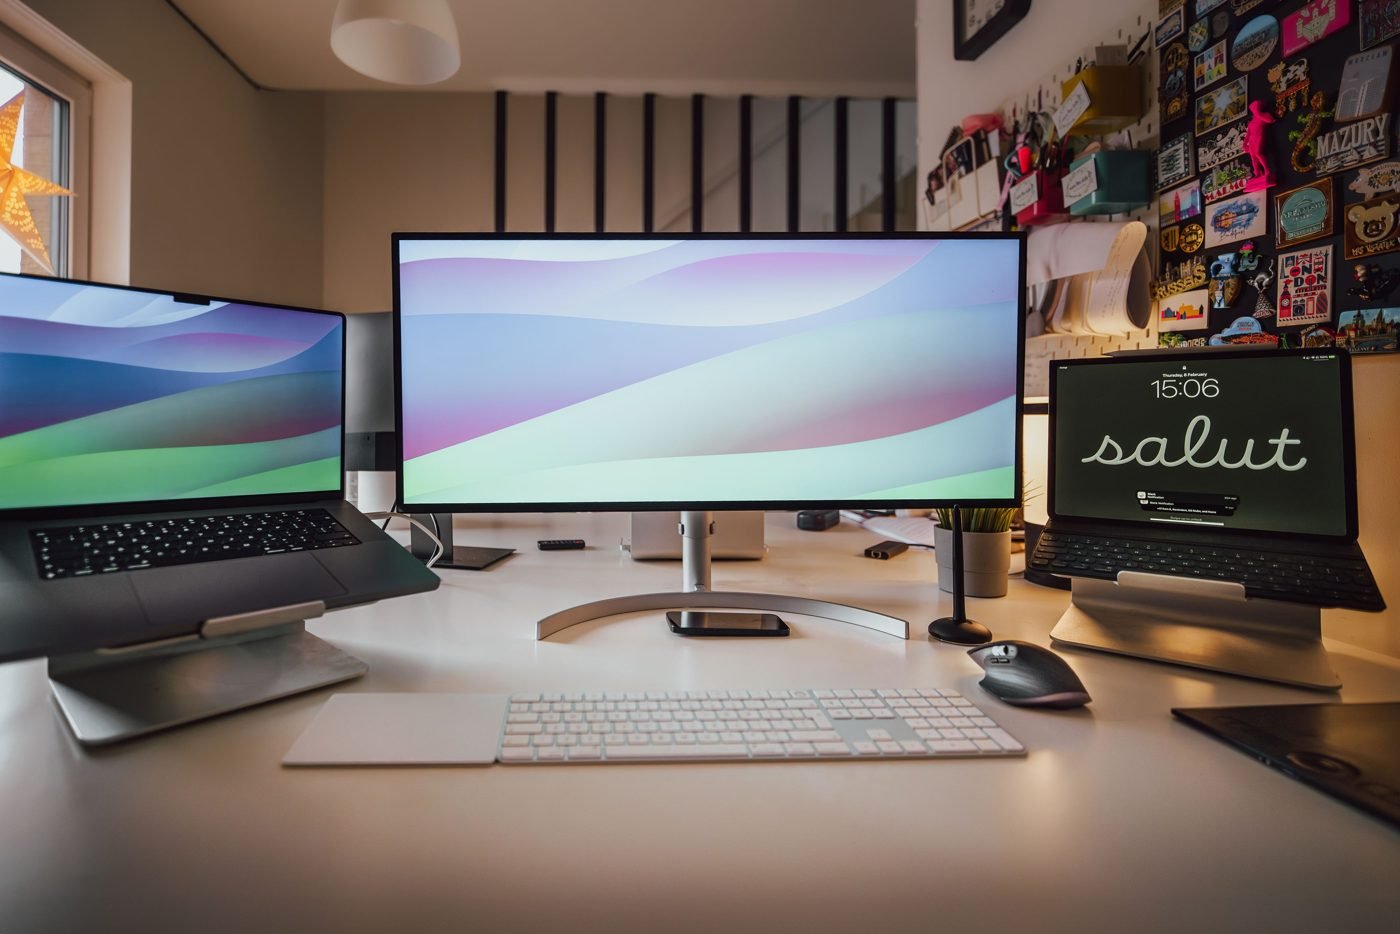
If you prefer the mouse, drag a window by its title bar all the way to the left or right edge of the screen. When an outline appears, let go, and the window fills that half. Drag a window into a corner instead to make it fill a quarter of the screen. Snap Assist then offers your other windows for the empty space.
To resize a split, drag the divider between two snapped windows. Both windows adjust together.
Use Snap groups to switch back to your split
When you arrange windows with Snap, Windows 11 remembers them as a Snap group. Hover over one of those apps on the taskbar and you’ll see the group as an option, so you can bring the whole split screen back with one click after switching to another app. Snap groups also appear in Task View and when you press Alt + Tab, if that option is turned on.
Snap not working? How to turn it on and customize it
If windows won’t snap or the layouts never appear, check your settings:
- Open Settings (Windows key + I).
- Go to System > Multitasking.
- Make sure the Snap windows toggle is on.
- Expand Snap windows and tick the options you want: show what I can snap next to it (Snap Assist), show snap layouts when hovering over the maximize button, show snap layouts when dragging to the top of the screen, and show my snapped windows in the taskbar, Task View and Alt + Tab (Snap groups).
Still stuck? Try these:
- The app has a large minimum size. Some apps can’t shrink enough to fit a small zone, so they won’t snap into a three- or four-window layout. Try a 50/50 split instead.
- The window is full screen. Press F11 or Esc to leave full-screen mode first.
- Screen resolution is low. Fewer layouts appear on small or low-resolution displays. Check your graphics setup and display settings if layouts look limited.
- Restart Windows Explorer from Task Manager if snapping suddenly stops working.
Split screen with two monitors
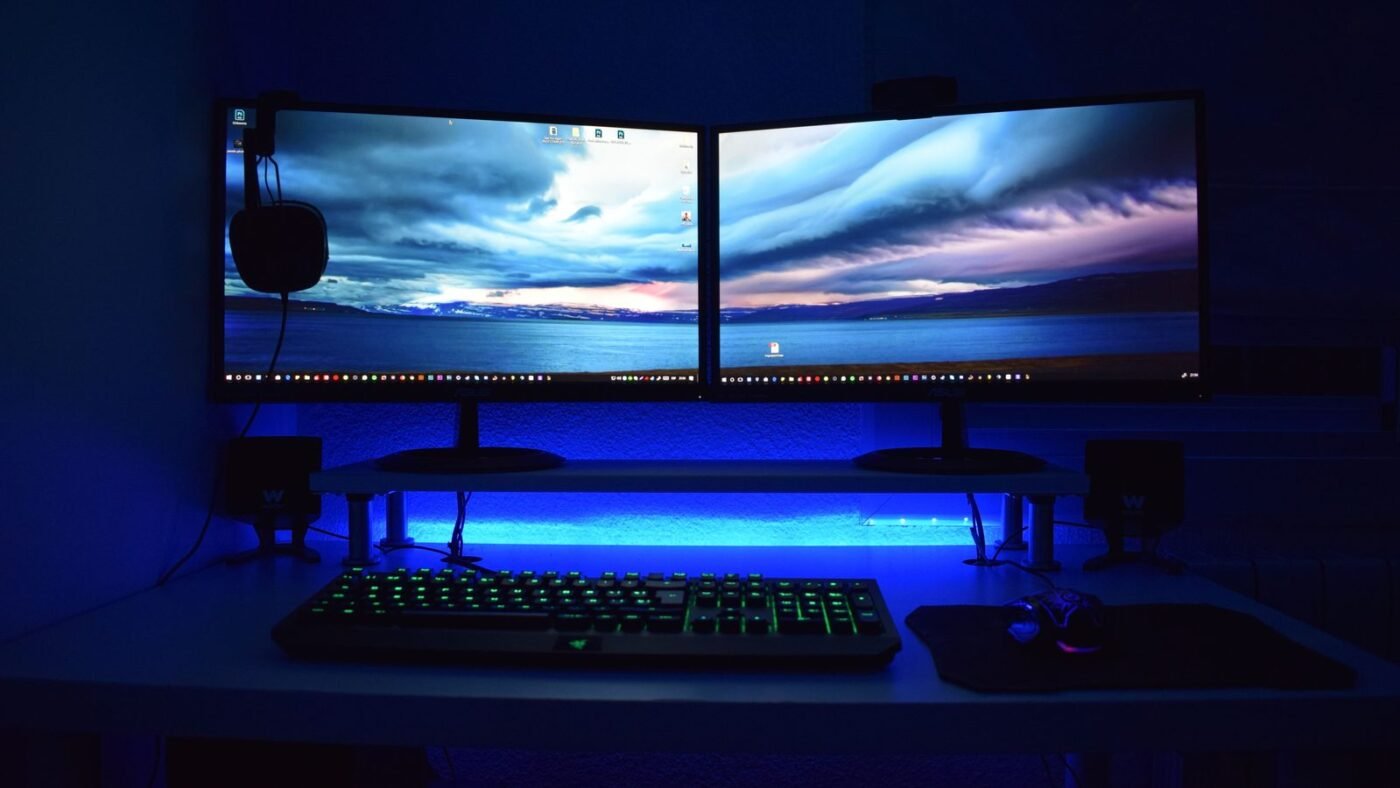
Snap works on each monitor separately, so you can run a split on both displays. Use Windows key + Shift + Left or Right arrow to move a window to the other monitor, then snap it there. If you’re choosing a cable for a second screen, our HDMI vs DisplayPort guide can help.
Bottom line
The quickest way to split screen on Windows 11 is Windows key + Left or Right arrow, then choosing a second window from Snap Assist. For more than two apps, press Windows key + Z or hover over the maximize button to use Snap layouts, and rely on Snap groups to jump back to your setup. Want to capture what’s on your split screen? See how to take a screenshot on Windows 11.

The Teck Hustlers Editorial Team covers technology, business, finance and gaming news for readers who want the story behind the headline. Every article is researched, written and edited by our in-house team, checked against company announcements, filings and reputable reporting, and updated when new facts emerge. We focus on what each development means for founders, professionals, investors and everyday users. Have a tip or a correction? Reach us through our contact page.